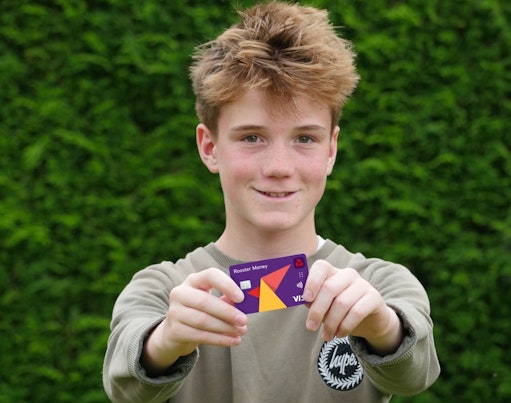
One of the great benefits of using the Rooster Card to manage pocket money for your kids is that they can make purchases online, whilst you have oversight. We all know that increasingly kids are wanting to buy things online rather than at the shops because so much of our life is online these days. Whether that be buying something from Amazon, purchasing some Roblox credits or selling some of their unwanted toys on Ebay, online payments are here to stay and giving our children the right skills to navigate this safely is important. Every family is different of course in terms of when they will choose to introduce online spending permissions into their pocket money routine, and some may choose never to do it, and that’s fine; however we want to list out some tips below for those parents that need help managing it. In this article we dive into the detail on how to use the Rooster Card with a Microsoft Account so you benefit from all the features that are available there.
In this article we dive into the detail on how to use the Rooster Card with a Microsoft Account so you benefit from all the features that are available there.
- What is a Microsoft Account
- Buying things with a Microsoft Account
- Using the Microsoft Account with RoosterMoney
- For Virtual Tracker users
- For Rooster Card users
- Use the Content Permissions with a Microsoft Account
What is a Microsoft Account
A Microsoft account is what you use to access many Microsoft devices and services. It’s the account that you use to sign in to Skype, Outlook.com, OneDrive, Windows Phone, and Xbox LIVE – and it means your files, photos, contacts and settings can follow you securely to any device.
If you have a family laptop or PC you might use it to manage the screen time or device access for your children. If you do this, you’ll know that it has some neat features about informing parents on device usage so parents can set limits and monitor activity.
Buying things with a Microsoft Account
The Microsoft Account can also be used to buy a number of items from the Microsoft Store, for example when you want to buy a new app, game or film for your Xbox or Windows PC you can do this through your Microsoft Account by connecting it to a payment method, such as a debit card, loading the Account and making the purchase.
Using the Microsoft Account with RoosterMoney
For Virtual Tracker Users
For those users on our virtual tracker, like anything else you want to buy for your child, you can make the purchase outside of the RoosterMoney app and simply deduct the monies spent from your tracker account via the Remove function in the app. Add a reason for the remove, and you and your child can track purchases over time.
For Rooster Card Users
For Rooster Card users you could do exactly the same thing as for virtual tracker users by purchasing the item yourself and deducting the money via a Remove. However the only difference is you are deducting real money as opposed to virtual money from your RoosterMoney app.
If you are ready to give your kids a bit more independence with their Rooster Card you can do one of two things:
- Add the Rooster Card directly to the Microsoft Account and let your kids make purchases with any funds they have directly.
- Use the content permissions within Microsoft Account to ensure that kids have to ask for permission to buy certain things before they can.
Using the Content Permissions within a Microsoft Account
To add that extra layer of control in the purchasing process you can enable the content restrictions within the Microsoft Account so that a child must ask for permission before purchasing a game with their Rooster Card. An email is then sent to the approver to approve the purchase before the child can make the purchase.
We’d recommend that you add the Rooster Card to the Microsoft Account for this purpose then you are able to use your child’s pocket money for all the purchases within the Microsoft Account. Simply add it as the payment option in the Microsoft Account.
You have two options with the Microsoft Account, you can either a) pre-load it and your child then spends from the pre-loaded account, or b) you can load it at the point of request. If you want to make sure permission is asked of you each time for a purchase, then you should do the later because otherwise you aren’t notified for an approval each time.
If you’re interested in reading our other user guides for the Rooster Card you can find them here:
- Online spending with the Rooster Card – the ultimate guide
- Online spending with the Rooster Card – the quick guide
- Using the Rooster Card with a PlayStation Account
- How to manage the Rooster Card with Roblox
- Using the Rooster Card with Roblox – a Case Study
We hope you found this post useful. If you have any tips or tricks in how you use the Rooster Card to help teach your kids about money matters then please do contact us at hello@admin.test.rooster.money


